Description
#702, #703 – Eyology Floor or Table-based Imaging System Stand
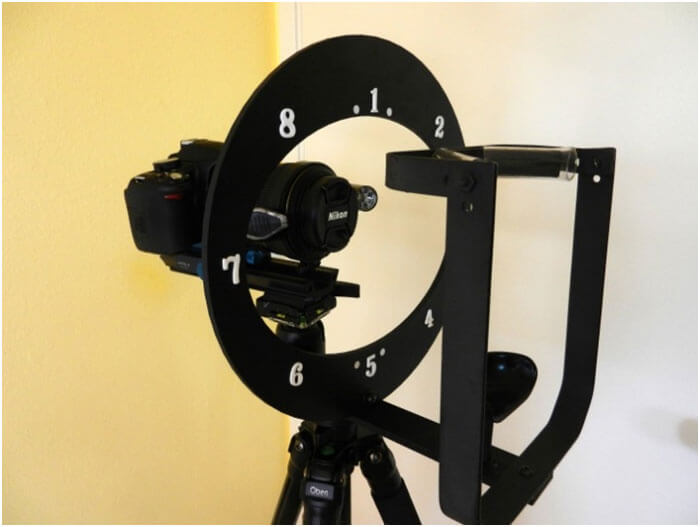
The GranMed Foto Imaging System Stands (shown below) allow the Eyologist to take eye images in a more efficient and professional way—and with a greater possibility that they’ll come out the way we eyeball folks want—and the way they should!
It’s fine to use your (and the client’s) elbows rested on a table to take your fotos. But with the Imaging Stand—Floor model or Table model—you’re more likely to get good, clear, in-focus images.
With the scleras, especially, you’ll want to get the much-desired angles correct. And, after all, with the scleras, correct foto angle positioning can be critical to knowing the precise location of sclera markings—and therefore to you creating a correct Dx (evaluation)!
Which brings us to the exclusive Sclerology GazeGuide©, designed entirely for sclera images. Until now, we were only lucky if we came away with rightly angled sclera fotos.
With Iridology, getting good images (assuming a quality camera and lens and a rightly aligned face) is basically just a matter of the client peering straight ahead into the center of the lens. Not so with Sclerology! In right sclera fotografy, the client has to gaze in the right directions.
So, how do we do that? How can we be at least reasonably sure they’ll look in the right direction, that their gaze angle will be correct? In sclera fotografy, we need two sets of gaze angles: (1) the Cardinal or Quadrant Angles and (2) the Research Angles. The images of the four cardinal directions are straight up, straight down, and directly to each side (12:00, 3:00, 6:00 and 9:00 o’clock). Images for the Research Angle directions are at 1:30, 4:30, 7:30, and 10:30 o’clock.
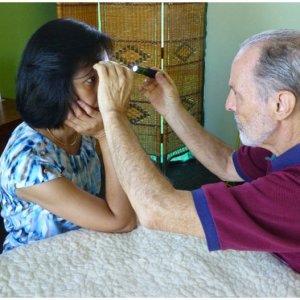
Until now, even with a chinrest stand, we needed to direct the client’s gaze with a finger and hope it worked. With deep-set eyes, or with a sclera marking at the edge of a Quadrant, unless we had good research angle fotos we’d usually be in trouble, unable to see where, exactly, that line or other marking data was pointing to.
Enter the GazeGuide©! Now, you simply direct the client’s gaze to the numbers. The odd numbers handle the four Quadrant Angles, while the even numbers are for the Research Angles.
This way, if there happens to be a suspicious marker at the edge of a Q, you’ll get it. You’ll see what it is and where it’s going. With the GazeGuide© there is no mistaking the organs those Q-Crossing Lines are connecting to. The Research Angles are also important in case your data is needed later for…well…research! (Complete instructions on right Eyology Imaging are available as Product #704, below).
- Get big, sharp, easy-to-read sclera and iris angles and images every time
- GazeGuide #’s 1, 3, 5, & 7 are for the sclera Quadrant Angles
- GazeGuide #’s 2, 4, 6, & 8 are for the sclera Research Angles
- Irises: simply center your patient’s gaze at mid-lens
- Detailed professional Eyology Imaging instructions are available (see below, Product #704—Foto Imaging Instructions)
- Choose solid oak TableTop or metal Tripod-mounted Floor model
- BOTH include the sturdy hard plastic GazeGuide©, heavy steel support, ball-head mount, quick-release plate, chin & forehead rest, and camera FocusRail. The Floor model has a quality tripod.
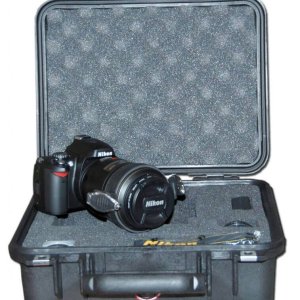
- BOTH are custom-made to last a lifetime. Purchase either Support with or without the GranMed EC-2 Camera Kit.


Reviews
There are no reviews yet.