Description
#704—Foto Imaging Instructions
Our understanding of Eyology Foto Imaging was developed over the decades, even before we began using cameras to take images of the eyes. We studied the data available on the German cameras (Deck), then the imaging systems used by Dr. Jensen when (and after) we lived at his Hidden Valley Ranch in Escondido, California.
During our first few years of office practice, before cameras were relatively available for eye imaging, and just like many of the early pioneers in our field, we simply made hand drawings of iris and sclera markings, using colored pencils. Then, there were years of taking film images of the eyes—then waiting for them to be processed (and hoping they came out right!)
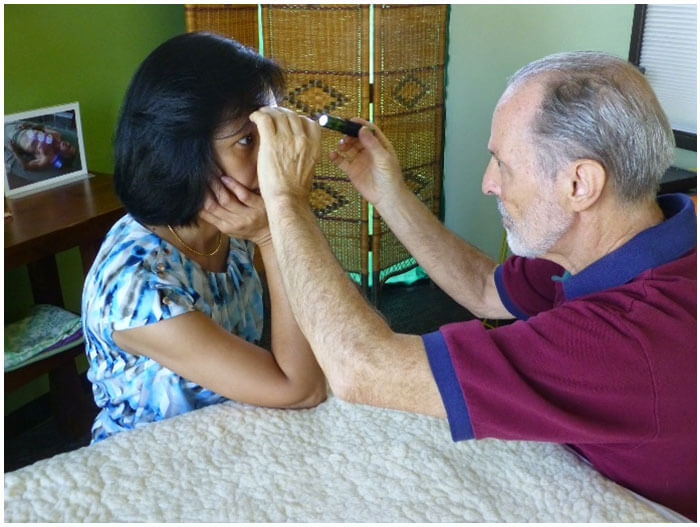
Then came digital. We did it all. At one point, a few years back, we made a video called, Performing An Eyology Exam (see Product #411 – Video). Our experience thru the years has made your process of taking good eye images much easier than ever. Notice how, e.g., when doing a basic “live” exam with the hand-held loop magnifier and LED lite, you sit across the edge-end of a table. It’s much easier this way.
As the decades passed, and the enquiries came in, we wrote several essays on the subject. Some were placed into the Eyology Lessons series. We have combined several solid, explanatory documents—including the aforementioned Lessons—into one set of instructions that pretty much covers all the bases. At first, you might not think there is much to this process of foto imaging. You just turn on the camera, point it at the client’s eyes, and shoot, right? Well…not exactly! There’s just a little more to it than that.
For example, there’s the whole consideration of the sclera Research Angles, why they’re so important, and how to rightly do them. Then, there are such items as:
- choosing the right camera
- the best lens
- effective lighting
- the right aperture
- positioning of the client’s head
- proper framing
- retracting of the client’s lids (who does it and how is it done best)
- getting the correct gaze angle
- focusing
- shooting
- sequencing
- labeling
Miss any of these and you run the risk of producing an unreadable image. (If you see any of numerous bizarre images sent to us for review by practitioners you’ll know exactly what I mean!). Then, do you have accompanying data on the patient (Intake health history, blood work, X-ray, Chiropractic evaluation, etc.)? Are your fotos still blurred? Are there lighting artifacts that are too large, too many, or in inauspicious places that cover critical body areas? You will want foto examples of at least some of these problems—real or potential.
Another item critical to your evaluation of your images is the use of transparencies, both hard copy map-type and computerized pull-down map-type. With all of these, the Foto Imaging Instructions document has got you covered! Only $25. Order yours today.


Reviews
There are no reviews yet.